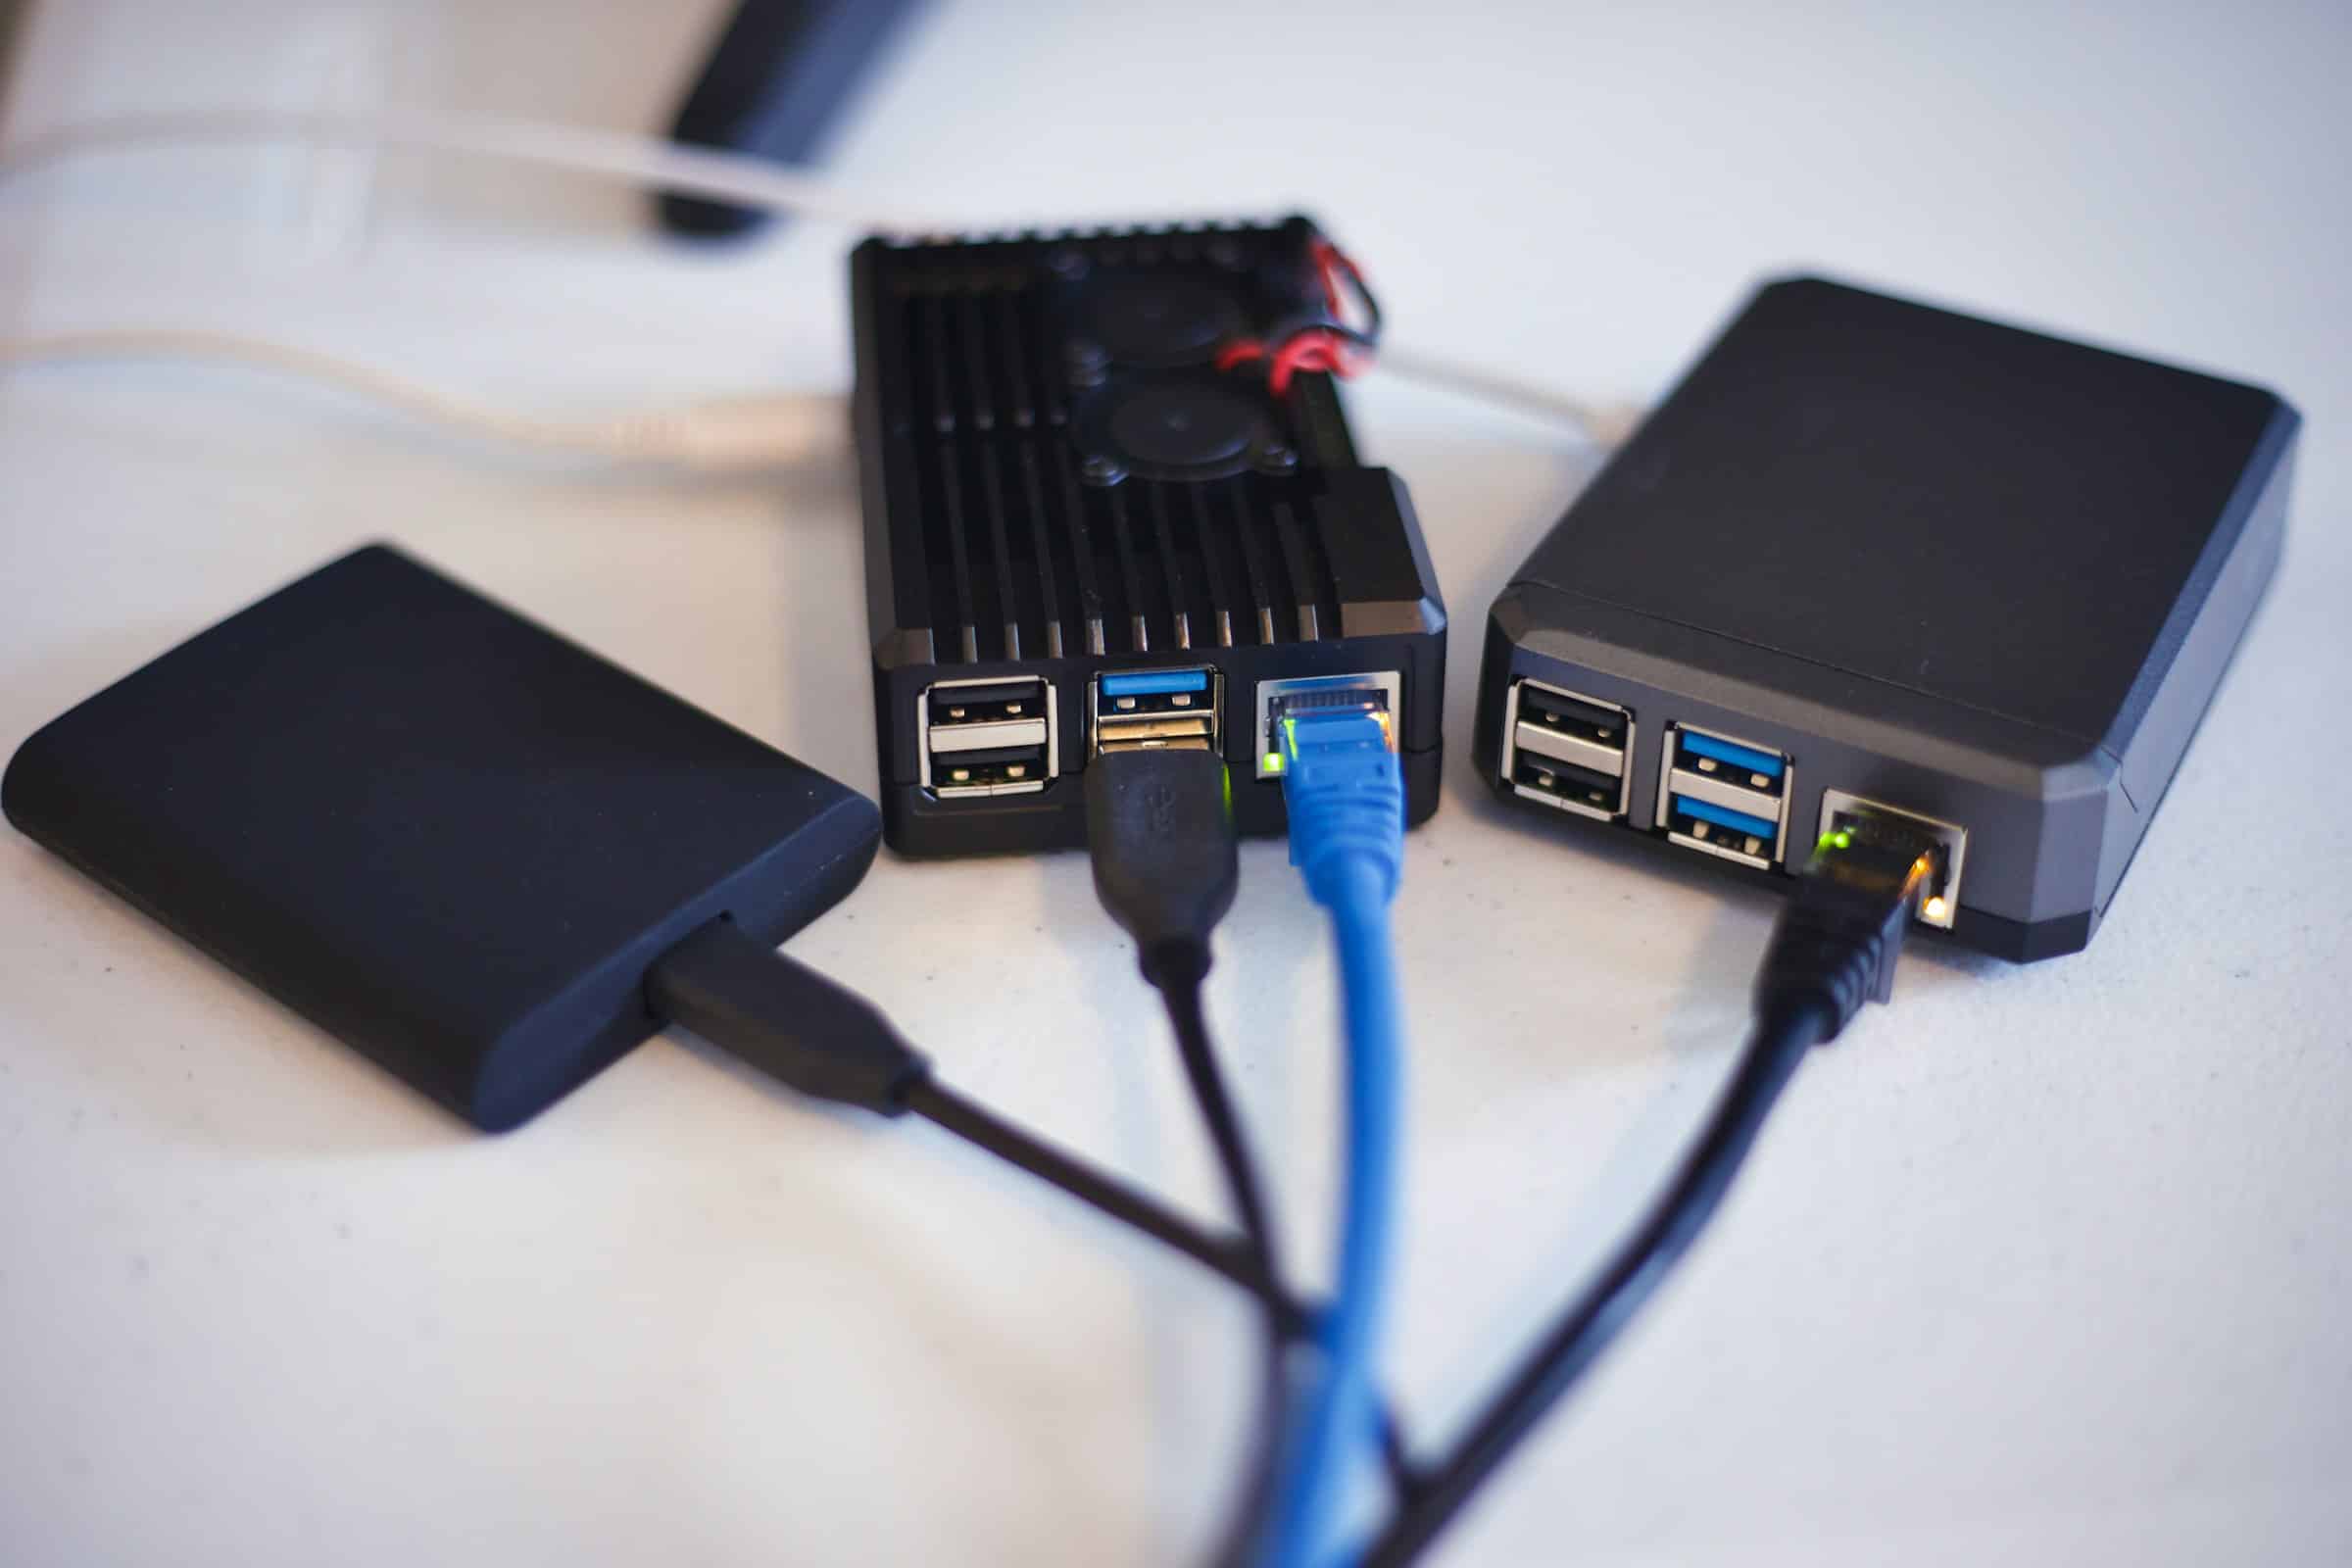
How do you configure a Raspberry Pi 4 as a network-wide ad blocker using Pi-Hole and Unbound for DNS?

Are you tired of intrusive ads cluttering your web experience? Imagine a world where your entire network is ad-free. Setting up a Raspberry Pi 4 as a network-wide ad blocker using Pi-Hole and Unbound for DNS is easier than you might think. This comprehensive guide will walk you through every step, ensuring a seamless and efficient setup. By the end, your home network will enjoy an ad-free browsing experience.
Getting Started with Pi-Hole and Unbound on a Raspberry Pi 4
To begin, you need a Raspberry Pi 4, a microSD card, and a stable internet connection. Pi-Hole is a powerful tool that blocks ads by intercepting DNS queries. When combined with Unbound, a validating, recursive, caching DNS resolver, it becomes even more robust.
Sujet a lire : What are the best practices for setting up a dual-boot system with Windows 10 and Linux Mint on a custom-built PC?
First, insert your microSD card into your computer and use Raspberry Pi Imager to install Raspberry Pi OS on it. This will provide the foundation for your Pi-Hole server.
Prepare Your Raspberry Pi
Once the Raspberry Pi OS is installed, insert the microSD card into your Raspberry Pi and boot it up. You need to set a static IP address to ensure that the DNS server location doesn’t change, as this is crucial for Pi-Hole to function correctly.
Dans le meme genre : How can you optimize the power settings of a Lenovo ThinkPad X13 for maximum battery life during travel?
Open a terminal and edit the dhcpcd.conf file:
sudo nano /etc/dhcpcd.conf
Add the following lines at the end of the file, replacing the placeholders with your network details:
interface eth0
static ip_address=192.168.1.2/24
static routers=192.168.1.1
static domain_name_servers=192.168.1.1
Save the file and reboot your Raspberry Pi.
Install Pi-Hole
With your Raspberry Pi prepared, the next step is to install Pi-Hole. Open a terminal and execute:
curl -sSL https://install.pi-hole.net | bash
Follow the on-screen instructions to set up Pi-Hole. During the setup, you will be prompted to choose an upstream DNS server—Google, OpenDNS, and Cloudflare are popular choices.
Upon completion, you will receive a web interface URL and an admin password. Write these down, as you will need them to manage your Pi-Hole.
Integrating Unbound for Enhanced DNS Security
While Pi-Hole provides ad-blocking capabilities, integrating it with Unbound enhances security by enabling recursive DNS queries.
Install Unbound
To install Unbound, open a terminal and run:
sudo apt update
sudo apt install unbound
After the installation, we need to configure Unbound to work with Pi-Hole. Create a configuration file by running:
sudo nano /etc/unbound/unbound.conf.d/pi-hole.conf
Add the following configuration to the file:
server:
  verbosity: 1
  interface: 127.0.0.1
  port: 5335
  do-ip4: yes
  do-udp: yes
  do-tcp: yes
  access-control: 127.0.0.0/8 allow
  private-address: 192.168.0.0/16

  forward-zone:
    name: "."
    forward-addr: 1.1.1.1
    forward-addr: 1.0.0.1
Save the file and restart Unbound:
sudo systemctl restart unbound
Configure Pi-Hole to Use Unbound
Now, configure Pi-Hole to use Unbound as its upstream DNS server. Access the Pi-Hole web interface by navigating to the provided URL. Go to Settings > DNS and under “Upstream DNS Servers,” click Custom 1 and enter 127.0.0.1#5335.
Save the settings and restart the DNS resolver via the web interface.
Fine-Tuning Your DNS and DHCP Settings
To ensure all devices on your network benefit from Pi-Hole, you need to adjust your router’s DHCP server settings.
Configure the Router
Log in to your router’s web interface. Look for the DHCP settings, and set the DNS server to the static IP address you assigned to your Raspberry Pi. This ensures that all DNS queries from devices on your network are routed through Pi-Hole.
If your router allows, you can disable its DHCP server and enable the DHCP server on Pi-Hole instead. This is often found under Settings > DHCP in the Pi-Hole web interface. Enable the DHCP server and configure the IP range according to your network.
Verify the Configuration
Finally, verify that your network is using Pi-Hole for DNS queries. On any device connected to your network, run the following command in a terminal:
nslookup pi.hole
If the response includes the IP address of your Pi-Hole, the setup is successful.
Enhancing the Pi-Hole Experience
With your Pi-Hole and Unbound setup complete, consider these additional enhancements for a more refined experience.
Add Block Lists
Expand Pi-Hole’s blocking capabilities by adding more block lists. In the Pi-Hole web interface, navigate to Group Management > Adlists. Here, you can add URLs of block lists. Popular sources include the Steven Black list and The Block List Project.
Monitor Performance
Monitor Pi-Hole’s performance using the web interface’s dashboard. This provides real-time statistics on blocked queries, total queries, and more. It helps you understand the impact of Pi-Hole on your network.
Secure Your Pi-Hole
Ensure your Pi-Hole is secure by regularly updating your Raspberry Pi OS and Pi-Hole itself. Use the following commands to keep your system up-to-date:
sudo apt update
sudo apt upgrade
pihole -up
Consider changing the default admin password by running:
pihole -a -p
This helps protect your setup from unauthorized access.
Configuring a Raspberry Pi 4 as a network-wide ad blocker using Pi-Hole and Unbound brings significant benefits to your browsing experience. By following the steps detailed in this guide, you will create a robust and secure ad-blocking solution. This setup ensures that every device on your network enjoys an ad-free environment, significantly improving your web experience. Take control of your network today and enjoy the benefits of a streamlined internet experience.
